Make.com Google Sheets Automation Tutorial: Easy Step-by-Step Guide
Make.com Google Sheets Automation is one of the easiest ways to remove repetitive spreadsheet work from your daily routine. A well-built Make.com Google Sheets integration can watch spreadsheet changes, move data between apps, update rows, and trigger follow-up actions automatically. Instead of manually copying rows, updating statuses, formatting data, or moving information between sheets, you can build a Make.com scenario that performs those actions automatically.
In this practical tutorial, you will build a simple workflow that watches Google Sheets for new rows, processes the incoming data, and sends the result to another Google Sheets action. Once you understand this structure, you can extend it to Gmail, Slack, CRMs, AI tools, databases, and many other apps.
If you want to see how this spreadsheet workflow fits into a wider business automation strategy, read our Task Automation guide for practical ways to automate repetitive data entry, reporting, notifications, CRM updates, and other recurring tasks.
If you are new to Make.com, start with our Make.com Tutorial for Beginners: Complete Automation Guide 2026 to understand scenarios, triggers, actions, data mapping, and flow control before building Google Sheets automations.
What Is Make.com Google Sheets Automation?
Make.com Google Sheets Automation means connecting Google Sheets with Make.com so spreadsheet events can trigger automated actions. Make’s official Google Sheets integration includes modules for watching new rows, adding rows, updating rows, searching rows, working with cells, bulk operations, and more.
For example, when a new lead is added to a spreadsheet, Make.com can detect the row, clean or transform the data, copy it to another sheet, update its status, or send it to another application.
What You Need Before Starting
- A Make.com account.
- A Google account with access to Google Sheets.
- A spreadsheet containing clear column headers.
- A few sample rows for testing.
For this tutorial, a simple sheet can contain columns such as Name, Email, Status, and Date. Keeping your headers clear makes mapping data inside Make.com much easier.
How to Automate Google Sheets with Make.com
To automate Google Sheets with Make.com, connect your Google account, choose a Google Sheets trigger such as Watch New Rows, map the spreadsheet data into later modules, and then add an action such as Add a Row or Update a Row.
- Connect Google Sheets: Add the Google Sheets app to a Make.com scenario and authorize your Google account.
- Select the spreadsheet: Choose the spreadsheet and worksheet you want Make.com to monitor or update.
- Choose a trigger: Use Watch New Rows when new spreadsheet entries should start the automation.
- Map the data: Select the fields from the incoming row that should be used in later modules.
- Add an action: Add or update a row, send the data to Gmail or Slack, or pass it into another app.
- Run once: Test the scenario with sample rows and confirm that the mapped values appear correctly.
- Schedule or activate: Once the test works, enable the scenario so Make.com can process future rows automatically.
If you need to control which rows continue through the workflow, see our Make.com Filters Tutorial. If the spreadsheet data contains arrays, nested JSON, or API responses, continue with our Make.com JSON Tutorial.
How to Set Up a Make.com Google Sheets Integration
A Make.com Google Sheets integration connects a spreadsheet to a Make.com scenario so data can move automatically between Google Sheets and other applications. The basic setup is simple: connect Make.com to Google Sheets, select the spreadsheet and worksheet, choose the event that should start the scenario, map the required fields, and test the workflow with real sample data.
For a common lead-management workflow, Google Sheets can act as the starting point. When a new row is added, Make.com reads the row and sends the mapped information to another module such as Gmail, Slack, Airtable, a CRM, or another Google Sheet. You can then add filters, routers, or update-row actions to control what happens next.
To create a reliable Google Sheets Make.com integration, keep column headers consistent, avoid changing the spreadsheet structure after mapping fields, and use Run once before activating the scenario. This helps Make.com detect the correct fields and prevents mapping errors when the automation begins processing live data.
Make.com Google Sheets Automation Workflow
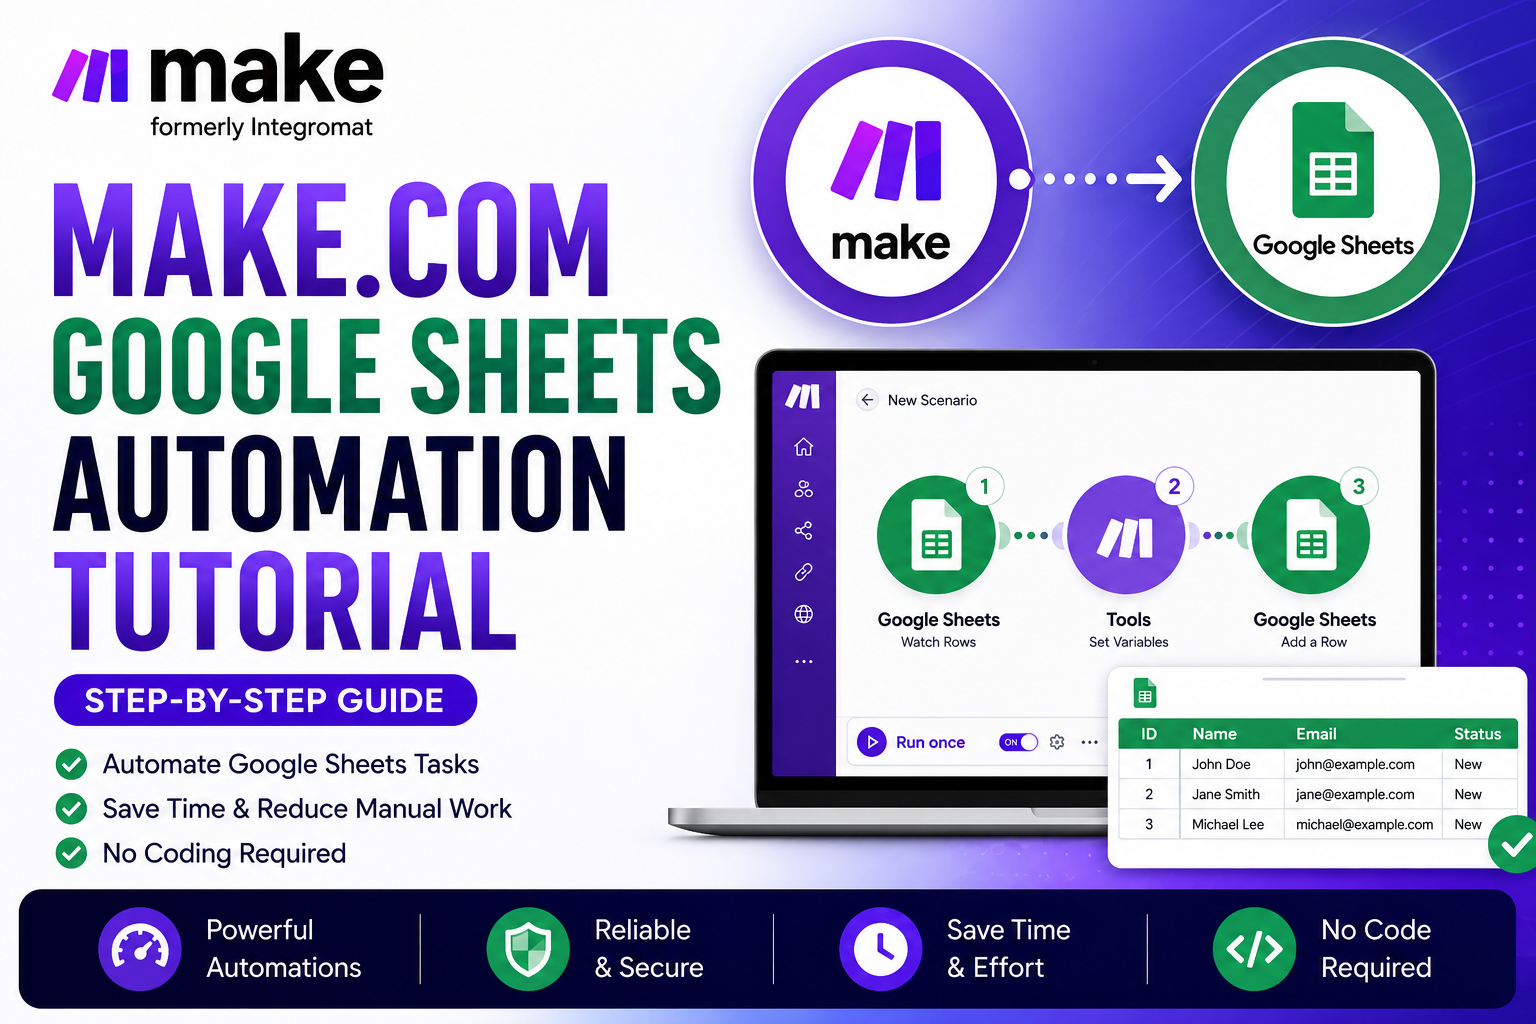
 The workflow above shows the basic automation pattern. Google Sheets acts as the trigger, Make.com processes the data, and another Google Sheets module performs the final action.
Step 1: Create a New Scenario in Make.com
Sign in to Make.com and create a new scenario. A scenario is the workflow where you connect modules and define what should happen to your data.
Step 2: Add Google Sheets as the Trigger
Add the Google Sheets app and choose Watch New Rows. According to Make’s current documentation, this module triggers when a new row is added. Connect your Google account, select the spreadsheet and sheet, and confirm whether the table contains headers. Important: Make notes that if the watched sheet contains a blank row, subsequent rows may not be processed by the Watch New Rows module. Keep the data table continuous when possible.
Step 3: Connect Your Google Sheets Account
When Make asks for a connection, create or select your Google Sheets connection and authorize the requested access. Then choose the spreadsheet you want the scenario to monitor.
Step 4: Configure the Watch New Rows Module
Select the correct spreadsheet and sheet, configure the header settings, and set the maximum number of rows Make should process during an execution cycle. Your output fields can then use your spreadsheet headers as recognizable variables.
Step 5: Process or Map the Spreadsheet Data
Now decide what should happen to the new row. You can map the values directly to another module or use Make tools and functions to clean, combine, format, or transform the data first. For example, you might combine first and last names, standardize a status field, format dates, or prepare information before sending it to another application.
Step 6: Add a Second Google Sheets Module
Add another Google Sheets module and select Add a Row if you want to append the processed information to a destination sheet. Make’s documentation describes Add a Row as an action that adds a new row at the bottom of the table.
Step 7: Map the Data to the Destination Columns
Choose your destination spreadsheet and sheet. Then map the output from the earlier module into the correct columns. For example, map Name → Name, Email → Email, and set Status → Processed.
Advanced Make.com Google Sheets Automation Example
 After the basic scenario works, you can expand it. A more advanced workflow might watch a new row, process the data, add it to another sheet, send a notification, and finally update the original row to show that processing is complete.
Step 8: Add an Optional Notification
You can connect an email or messaging app after processing the row. This is useful for new leads, order notifications, support requests, approvals, or other spreadsheet-driven workflows.
Step 9: Update the Original Row
Use Google Sheets Update a Row when you want to change an existing row. You can map the original row number and update a Status column to values such as Processed, Sent, or Completed.
Step 10: Run Once and Test Your Automation
Before activating your Make.com Google Sheets Automation workflow, click Run once and add a test row to the source sheet. Check that Make detects the row and that every mapped field reaches the correct destination. If something is wrong, inspect the module output and mappings before activating the automation.
Step 11: Turn the Scenario On
Once the test succeeds, save your scenario and turn it on. Make.com can then run the workflow according to the trigger and scheduling configuration you selected.
Useful Google Sheets Modules in Make.com
| Module | Typical Use |
|---|---|
| Watch New Rows | Start a workflow when a new row appears. |
| Add a Row | Append new information to a sheet. |
| Update a Row | Modify an existing row. |
| Search Rows | Find rows matching specified criteria. |
| Get a Cell | Retrieve a particular cell value. |
| Update a Cell | Change a particular cell. |
| Bulk Add Rows | Append multiple rows in one operation. |
| Bulk Update Rows | Update multiple rows. |
Best Practices for Make.com Google Sheets Automation
A reliable Make.com Google Sheets Automation setup starts with clean spreadsheet structure, careful mapping, and simple testing before you scale the workflow.
- Use clear and unique spreadsheet headers.
- Avoid unnecessary blank rows inside the watched data table.
- Test with sample data before switching the scenario on.
- Map fields carefully and check data types.
- Use filters when only certain rows should continue through the workflow.
- Update a Status column when you need to track processed records.
- Use bulk modules when your workflow genuinely needs to handle multiple rows together.
Using Google Sheets with Routers, Iterators, HTTP and Webhooks
Google Sheets becomes much more powerful when it is combined with other Make.com flow-control and integration modules. Use a Router when one row can follow different paths, an Iterator when a row contains an array that must be processed item by item, and an Array Aggregator when multiple bundles need to be combined again.
For API-based spreadsheet workflows, our Make.com HTTP Module Tutorial explains how to connect external services. You can also trigger spreadsheet workflows from incoming data using the Make.com Webhook Tutorial, or use AI inside the workflow with our ChatGPT + Make.com guide.
Common Problems and How to Fix Them
New Rows Are Not Triggering the Scenario
Check that the correct spreadsheet and sheet are selected, review the schedule, and make sure blank rows are not interrupting the watched table.
Wrong Data Appears in the Destination Sheet
Open the destination module and verify each mapped field. A value from the source must be mapped to the correct destination column.
Columns Changed After Building the Scenario
Review the Google Sheets module configuration and mappings after structural spreadsheet changes. Make’s current Add a Row documentation also provides an option to use column headers as column IDs, which can make mappings more resilient to some column reordering as long as headers are not renamed.
Make.com Google Sheets Automation Use Cases
Make.com Google Sheets Automation can support lead management, content calendars, order tracking, customer databases, form submissions, reporting, task management, email alerts, CRM updates, and AI-powered workflows.
If you are building more advanced scenarios, continue with the XVIFS AI tools and automation tutorials. You can also combine this workflow with filters and routers to control which records continue to different actions.
Official Resources
For current module fields and connection options, use the official Make Google Sheets documentation and the Make Google Sheets modules documentation. These are especially useful because module settings can change as Make updates its platform.
Frequently Asked Questions
How do I set up a Make.com Google Sheets integration?
To set up a Make.com Google Sheets integration, create a scenario in Make.com, add the Google Sheets app, connect your Google account, select the spreadsheet and worksheet, and choose a trigger such as Watch New Rows. Map the spreadsheet fields into the next module, run the scenario once with sample data, and activate it after confirming that the values are mapped correctly.
How do I automate Google Sheets with Make.com?
Create a new scenario, add Google Sheets, connect your Google account, choose a trigger such as Watch New Rows, select the spreadsheet and worksheet, map the fields you need, add the next action, and run the scenario once to test it. After the test works, activate the scenario so future rows are processed automatically.
Can Make.com automatically update Google Sheets?
Yes. Make’s Google Sheets integration includes actions such as Add a Row, Update a Row, Update a Cell, bulk row operations, and other spreadsheet modules.
Can Google Sheets trigger a Make.com scenario?
Yes. The Watch New Rows module can trigger when a new row is added to the selected sheet.
Do I need coding knowledge?
No coding is required for the basic workflow in this tutorial. You configure modules, connections, mappings, and conditions through Make.com’s visual scenario builder.
Can I connect Google Sheets to other apps through Make.com?
Yes. Once Google Sheets data enters a scenario, you can route it to other supported applications and services according to your workflow.
Can I filter Google Sheets rows before processing them?
Yes. Filters can be placed between modules so only bundles matching your conditions continue to the next step.
Conclusion
For the next step, continue with our Make.com Filters Tutorial for row-level conditions, the Make.com Router Tutorial for branching logic, and the complete Make.com beginner guide for the full automation framework.
Make.com Google Sheets Automation is a practical starting point for learning no-code automation. Begin with a simple Watch New Rows → process data → Add a Row workflow, test it carefully, and then expand it with filters, notifications, updates, routers, or other applications.
Once the scenario is working correctly, repetitive spreadsheet work can happen automatically while you focus on higher-value tasks.