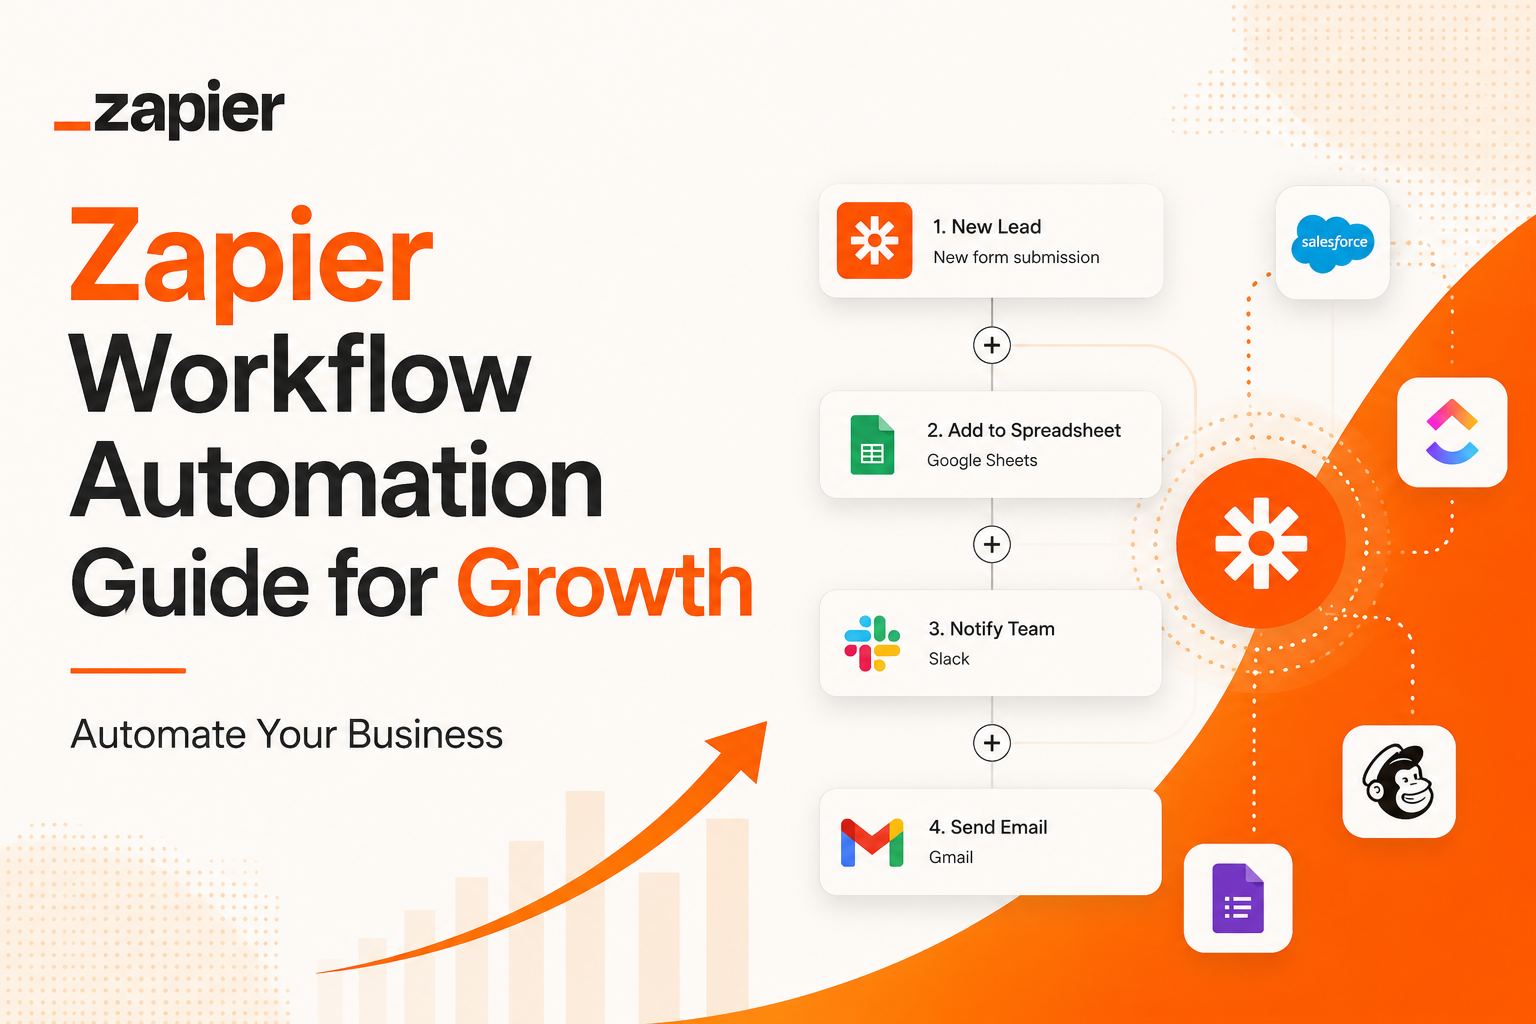
Zapier Workflow Automation Guide for Growth: Automate Your Business
In today’s fast-paced digital landscape, freelancers, marketers, founders, and small business owners often find themselves swamped by repetitive, manual tasks. The constant juggle of data entry, notification management, and routine communication can drain precious time and energy, diverting focus from strategic growth initiatives. Imagine a world where your lead captures automatically populate your CRM, new sales trigger personalized welcome emails, or social media posts are scheduled without manual intervention. This isn’t a pipe dream; it’s the power of automation.
This comprehensive guide will walk you through leveraging Zapier for seamless Zapier workflow automation, transforming how you manage tasks and scale your operations. We’ll demystify the process, provide practical examples, and equip you with the knowledge to build efficient, time-saving automations that propel your business forward. Get ready to reclaim your valuable time and boost your productivity.
What is Zapier? The Bridge Between Your Apps
Zapier is an online automation tool that connects your favorite apps, enabling them to work together seamlessly. Think of it as a universal translator or a digital bridge that allows different software platforms to communicate and exchange information without human intervention. Instead of manually moving data from one app to another or performing repetitive actions across various tools, Zapier automates these processes for you.
At its core, Zapier operates on a simple principle: 15 Best Ai Tools for Small Businesses to Increase Productivity: Scale Faster in 2026 when X happens in App A, do Y in App B. These automated connections are called ‘Zaps.’ With thousands of integrations available, Zapier empowers individuals and businesses of all sizes to create custom workflows that streamline operations, reduce errors, and significantly increase efficiency. It’s a no-code solution, meaning you don’t need programming skills to set up powerful automations.
The Core Problem Zapier Solves: Manual Overload and Inefficiency
The primary challenge Zapier addresses is the overwhelming burden of manual, repetitive tasks that plague modern work environments. Consider these common scenarios:
- Data Entry Drudgery: Copying new lead details from a form submission into a spreadsheet or CRM.
- Notification Fatigue: Constantly monitoring multiple platforms for new emails, social mentions, or project updates.
- Disjointed Workflows: Manually triggering follow-up actions, like sending a welcome email after a purchase or creating a task for a new client.
- Missed Opportunities: Delays in responding to leads or processing information due to manual bottlenecks.
- Human Error: Inaccuracies introduced during repetitive manual data transfer.
These seemingly small, individual tasks accumulate, consuming hours each week that could be spent on strategic planning, client engagement, or creative endeavors. Zapier eliminates this manual overload by acting as the glue between your essential business applications. It ensures that data flows automatically and actions are triggered precisely when needed, freeing up your time and minimizing the potential for human error. For any business striving for efficiency and scalability, Zapier becomes an indispensable asset.
Key Features for Powerful Automation
Zapier’s strength lies in its intuitive design and a robust set of features that facilitate complex automation without requiring code. Understanding these key components is crucial for effective Zapier workflow automation:
- Zaps: The fundamental building block of Zapier. A Zap is an automated workflow connecting two or more apps, consisting of a Trigger and one or more Actions.
- Triggers: The event that starts a Zap. For example, ‘New Email in Gmail,’ ‘New Row in Google Sheets,’ or ‘New Lead in HubSpot.’ The Trigger is always the first step in any Zap.
- Actions: The event that a Zap performs after the Trigger occurs. Examples include ‘Send Email in Gmail,’ ‘Create Row in Google Sheets,’ or ‘Add Contact to Mailchimp.’ A single Zap can have multiple Actions.
- Multi-Step Zaps: These allow you to string together several actions from different apps based on a single trigger. For instance, a new form submission (trigger) could simultaneously create a CRM entry, send a notification to your team, and add the contact to an email list (multiple actions).
- Filters: Conditional logic that allows a Zap to proceed only if specific criteria are met. For example, only send an email if the form submission contains ‘interested in premium plan.’ Filters help refine your workflows and prevent unnecessary actions.
- Paths (Conditional Logic): An advanced feature that allows Zaps to take different actions based on different conditions. If Condition A is met, perform Path 1; if Condition B is met, perform Path 2. This is powerful for complex branching workflows.
- Formatters: Tools within Zapier to manipulate data between steps. You can format text, dates, numbers, or even extract patterns from text to ensure data is in the correct format for subsequent app actions.
- Webhooks: For developers or advanced users, Webhooks allow you to connect apps not natively supported by Zapier. You can send data to a custom URL (Webhook) or receive data from any app that can send Webhooks.
- Scheduler: Triggers Zaps at set intervals (e.g., daily, weekly) regardless of specific app events. Useful for routine reporting or scheduled tasks.
These features combine to offer immense flexibility, allowing users to design highly customized and efficient automations tailored to their unique business needs.

Requirements and Preparation for Building Zaps
Before you dive into creating your first Zap, a little preparation will ensure a smooth and successful automation setup:
- A Zapier Account: If you don’t have one, sign up for a free account at Zapier’s official website. The free plan offers a good starting point to experiment with basic Zaps.
- Accounts for Integrated Apps: Ensure you have active accounts for all the applications you plan to connect (e.g., Google Sheets, Mailchimp, Slack, your CRM). You’ll need to authorize Zapier to access these accounts during setup.
- Clear Automation Goal: Define precisely what you want to automate. What is the trigger event? What are the desired actions? What apps are involved? A clear objective prevents aimless setup.
- Sample Data: It’s helpful to have some sample data in your trigger app (e.g., a test form submission, a dummy row in a spreadsheet) to use during the Zap testing phase. This allows you to verify that the data is flowing correctly.
- Familiarity with App Functions: Have a basic understanding of how the apps you’re connecting work. Knowing their features and limitations will help you design more effective automations.
- Browser Access: Use a modern web browser to access Zapier.
By having these prerequisites in order, you’ll be well-prepared to configure powerful and efficient Zaps that truly enhance your productivity.
Mastering Your Zapier Workflow Automation: A Step-by-Step Guide
Let’s build a practical Zap: automatically add new Typeform submissions to a Google Sheet and then send a notification to a Slack channel. This is a common workflow for lead capture and internal team communication.
Step 1: Sign Up and Create a New Zap
- Go to Zapier.com and log in to your account.
- Click the ‘Create Zap’ button on your dashboard. This will open the Zap editor.
Step 2: Set Up Your Trigger (Typeform)
- Choose Trigger App: In the ‘1. Trigger’ step, search for and select ‘Typeform’.
- Choose Trigger Event: Select ‘New Entry’. This means the Zap will fire every time a new submission is received on your chosen Typeform. Click ‘Continue’.
- Connect Typeform Account: If you haven’t connected Typeform before, Zapier will prompt you to ‘Sign in to Typeform’. Follow the on-screen instructions to authorize Zapier access to your Typeform account. Once connected, select your account and click ‘Continue’.
- Set Up Trigger: Select the specific Typeform you want to monitor for new entries from the dropdown menu. Click ‘Continue’.
- Test Trigger: Click ‘Test trigger’. Zapier will attempt to find a recent entry from your selected Typeform. Ensure you have at least one test submission in your Typeform for this step to work. If successful, it will show you the data Zapier received. Click ‘Continue with selected record’.
Step 3: Set Up Your First Action (Google Sheets)
- Choose Action App: In the ‘2. Action’ step (which will appear after your trigger is set), search for and select ‘Google Sheets’.
- Choose Action Event: Select ‘Create Spreadsheet Row’. Click ‘Continue’.
- Connect Google Sheets Account: Sign in to your Google Account and authorize Zapier to access your Google Sheets. Select your account and click ‘Continue’.
- Set Up Action:
- Drive: Select your Google Drive where the sheet is located.
- Spreadsheet: Choose the specific Google Sheet you want to add data to. Make sure you have a header row in your Google Sheet (e.g., Name, Email, Message) that matches the fields you expect from Typeform.
- Worksheet: Select the tab within your spreadsheet.
- Map Fields: This is crucial. For each column header in your Google Sheet (e.g., ‘Name’), click the field and select the corresponding data from your Typeform trigger (e.g., ‘Name’ field from Typeform). Map all relevant fields.
- Click ‘Continue’.
- Test Action: Click ‘Test step’. Zapier will attempt to create a new row in your Google Sheet using the data from your test trigger. Verify that a new row with the correct information appears in your Google Sheet. Click ‘Publish Zap’.
Step 4: Add a Second Action (Slack Notification)
After testing your first action, you can add another step to your Zap:
- Click the ‘+’ button below your Google Sheets action to add another step.
- Choose Action App: Search for and select ‘Slack’.
- Choose Action Event: Select ‘Send Channel Message’. Click ‘Continue’.
- Connect Slack Account: Sign in and authorize Zapier access to your Slack workspace. Select your account and click ‘Continue’.
- Set Up Action:
- Channel: Choose the Slack channel where you want to send the notification (e.g., #leads, #general).
- Message Text: Compose your message. You can include dynamic data from your Typeform trigger using the dropdown menu. For example: ‘New Lead from Typeform! Name: [Typeform data: Name], Email: [Typeform data: Email], Message: [Typeform data: Message]’.
- Send as a bot?: Yes (recommended for cleaner notifications).
- Bot Name: (Optional) Give your bot a friendly name like ‘Lead Notifier’.
- Click ‘Continue’.
- Test Action: Click ‘Test step’. Verify that a new message appears in your chosen Slack channel with the correct lead details.
Step 5: Publish Your Zap
- Once both actions are tested and working correctly, click ‘Publish Zap’ (usually located at the bottom or top right).
- Toggle your Zap ‘On’.
Congratulations! Your Zap is now live and will automatically execute these steps every time a new entry is submitted to your Type form.

Realistic Workflow Example: Freelancer Client Onboarding Automation
Imagine you’re a freelance web designer or marketing consultant. Client onboarding involves several repetitive steps: sending a welcome email, creating a project folder, adding them to your project management tool, and scheduling an initial call. Here’s how Zapier can automate this:
The Problem:
Manually performing these steps for every new client is time-consuming and prone to errors, especially when business is booming.
The Zapier Solution:
Trigger: New Row added to a Google Sheet (when you mark a prospect as ‘Client Accepted’).
Actions:
- Gmail (Action 1): Send a personalized welcome email to the new client, pulling their name and project details from the Google Sheet.
- Google Drive (Action 2): Create a new project folder for the client (e.g., ‘Client Name – Project X’).
- Asana/ClickUp/Trello (Action 3): Create a new project or task in your project management tool for the new client, pre-populating it with a templated checklist for onboarding tasks.
- Calendly/Acuity Scheduling (Action 4 – Optional, via email/webhook): Send an email containing a link to your scheduling tool for the client to book their initial kickoff call.
- Slack (Action 5): Post a message to your team’s #new-clients channel, announcing the new client and their project.
Benefits: This automation ensures a consistent, professional, and rapid onboarding experience for every new client. It saves the freelancer hours per client, reduces the chance of forgetting a step, and allows them to focus on client work rather than administrative overhead. The entire process kicks off automatically the moment you update your client tracker spreadsheet, making the onboarding process seamless and efficient.
Useful Tips and Common Mistakes
Maximizing your Zapier automations requires attention to detail. Here are some tips and common pitfalls to avoid:
Useful Tips:
- Start Simple: Don’t try to build the most complex Zap first. Begin with a straightforward two-step Zap to get comfortable, then expand.
- Name Your Zaps Clearly: Use descriptive names like ‘Typeform Leads to Sheets & Slack’ so you can quickly understand their function at a glance.
- Test Thoroughly: Always use test data and verify each step during the setup process. A single overlooked detail can break an entire workflow.
- Use Filters Wisely: Filters (e.g., ‘only continue if email contains @business.com’) are powerful for creating precise workflows and preventing unwanted actions.
- Leverage Formatter Steps: Need to change a date format or extract specific text? Zapier’s Formatter app is incredibly useful for preparing data between steps.
- Check Your Task History: If a Zap fails, check your ‘Task History’ in Zapier. It provides detailed logs of each Zap run, helping you identify and troubleshoot issues.
- Monitor Zap Health: Regularly check your Zaps, especially after app updates, to ensure they are still running as expected. Zapier will also notify you of errors.
- Consider Paths for Complexity: When a Zap needs to perform different actions based on different conditions, use Paths for advanced conditional logic.
Common Mistakes:
- Not Mapping Fields Correctly: The most frequent error. Ensure that the data fields from your trigger app are correctly matched to the corresponding fields in your action app.
- Insufficient Test Data: Trying to test a Zap without recent, relevant data in the trigger app often leads to errors and confusion.
- Overlooking App Permissions: Failing to grant Zapier the necessary permissions for each connected app will prevent Zaps from running.
- Ignoring Error Notifications: Zapier sends email notifications for failed Zaps. Ignoring these means problems can persist unnoticed.
- Too Broad Triggers: Setting a trigger that fires too often (e.g., ‘Any new email’) without proper filters can quickly consume your task allowance and create unwanted actions.
- Not Understanding Rate Limits: Some apps have API rate limits. If your Zap tries to perform too many actions in a short period, it might hit these limits and fail.
- Forgetting to Publish/Turn On: A Zap won’t run unless it’s explicitly published and toggled ‘On’.
%20are%20seamlessly%20connected%20by%20glowing%20lines,%20symbolizing%20a%20cohesive%20automated%20ecosystem.%20Minimalist%20and%20clean.?width=1200&height=675&nologo=true)
Zapier Pricing: A Flexible Approach to Automation
Zapier offers a tiered pricing structure designed to accommodate various usage levels, from individual users to large teams. It’s important to note that pricing plans and features can change, so always refer to the official Zapier pricing page for the most current details.
Key aspects of Zapier’s pricing include:
- Free Plan: A perpetual free plan is usually available, offering a limited number of Zaps (e.g., 5 Zaps) and tasks (e.g., 100 tasks/month). This is excellent for trying out basic automations and understanding the platform.
- Starter Plan: Designed for individuals or small teams, offering more Zaps and tasks, and often including multi-step Zaps.
- Professional Plan: For growing businesses, this tier typically includes more advanced features like filters, paths, and increased task limits.
- Team/Company Plans: Cater to larger organizations with higher task volumes, team collaboration features, and dedicated support.
Zapier’s pricing is primarily based on the number of ‘tasks’ your Zaps execute per month. A task is counted every time a Zap successfully performs an action. For example, if a Zap adds a row to Google Sheets and sends a Slack message, that counts as two tasks. The number of Zaps (active workflows) also plays a role in plan selection.
When choosing a plan, consider your expected monthly task volume and the advanced features (like multi-step Zaps, filters, and paths) you’ll need. Always visit the Zapier pricing page for the most up-to-date and accurate information.
Pros and Limitations of Zapier
Like any powerful tool, Zapier comes with its own set of advantages and potential drawbacks.
Pros:
- Ease of Use (No-Code): Zapier’s intuitive interface allows anyone to build complex automations without writing a single line of code, making it accessible to a broad audience.
- Vast Integration Library: With thousands of supported apps, Zapier can connect almost any tool in your tech stack, making it incredibly versatile.
- Time and Cost Savings: By automating repetitive tasks, businesses save significant time and reduce operational costs associated with manual labor.
- Increased Productivity and Efficiency: Automations run 24/7 without intervention, ensuring consistency and freeing up human resources for more strategic work.
- Reduced Human Error: Automated data transfer minimizes mistakes common in manual data entry.
- Scalability: As your business grows, your automations can scale with you, handling increased volumes without additional manual effort.
- Flexibility: Features like filters, paths, and formatters allow for highly customized and intelligent workflows.
Limitations:
- Cost for Advanced Features: While there’s a free plan, robust multi-step Zaps and higher task volumes quickly require a paid subscription, which can become significant for heavy users.
- Learning Curve for Complex Zaps: While basic Zaps are easy, designing intricate workflows with conditional logic, multiple paths, and data manipulation can require a significant learning investment.
- Dependency on Third-Party APIs: Zapier’s functionality relies on the APIs of the connected apps. If an app’s API changes or experiences downtime, it can affect your Zaps.
- Task-Based Pricing: Understanding and managing your task consumption can be tricky, potentially leading to unexpected charges if not monitored closely.
- Limited Customization for Niche Cases: While comprehensive, there might be very specific, highly customized integrations or data transformations that Zapier can’t handle out-of-the-box, requiring custom code or a more developer-focused solution.
- Troubleshooting Complexity: For multi-step Zaps with filters and paths, diagnosing why a Zap failed can sometimes be challenging, though Zapier’s task history helps.
Who Should and Should Not Use Zapier
Understanding if Zapier is the right fit for your needs is crucial for effective implementation.
Who Should Use Zapier:
- Freelancers and Solopreneurs: To automate client onboarding, lead follow-ups, content distribution, and administrative tasks, maximizing their limited time and resources.
- Small to Medium-Sized Businesses (SMBs): To streamline operations across sales, marketing, customer support, and internal communications without hiring dedicated IT staff for custom integrations.
- Digital Marketers: For automating social media posting, lead nurturing sequences, email list management, and campaign reporting.
- Sales Teams: To automate lead qualification, CRM updates, and follow-up tasks.
- Anyone with Repetitive Digital Tasks: If you find yourself repeatedly performing the same actions across different web applications, Zapier is likely a game-changer for you.
- Agencies: To manage client workflows, reporting, and internal processes efficiently across multiple projects and clients.
- Founders and Creators: To automate backend tasks, allowing them to focus on product development, content creation, and strategic growth.
Who Should NOT Primarily Use Zapier:
- Individuals with Very Infrequent or Basic Needs: If you only need to connect two apps once a month, the free plan might suffice, but if your needs are simpler than that, manual methods might be less overhead than setting up and maintaining a Zap.
- Enterprises with Complex, Highly Custom Backends: Large organizations with unique, deeply integrated legacy systems or very specific real-time data synchronization requirements might benefit more from custom API development or enterprise-grade integration platforms.
- Users Unwilling to Invest Time in Setup: While no-code, Zapier still requires time and thought to design, build, and test effective automations.
- Those Seeking a Single-App Solution: Zapier connects apps; it’s not a standalone CRM, project manager, or email marketing platform. It enhances existing tools.
For most modern businesses and independent professionals, Zapier offers an accessible and powerful solution to enhance productivity and achieve scale.
Frequently Asked Questions About Zapier
- How many Zaps can I create with Zapier?
The number of Zaps you can create depends on your Zapier pricing plan. The free plan typically allows a limited number of Zaps (e.g., 5), while paid plans offer significantly more, often hundreds or unlimited active Zaps. Always check the current pricing details on Zapier’s official website. - What is a ‘task’ in Zapier, and how is it counted?
A ‘task’ is counted every time a Zap successfully performs an action. For example, if a Zap triggers, then adds a row to Google Sheets, and sends a Slack message, that counts as two tasks. Triggers themselves are not counted as tasks, but subsequent actions are. Failed actions are typically not counted. - Can Zapier integrate with any app?
Zapier integrates with thousands of popular web applications. While it boasts a vast library, it cannot integrate with every single app, especially very niche or custom-built internal tools. However, for unsupported apps, you might be able to use Zapier’s Webhooks feature to connect them if the app supports sending or receiving Webhooks. - Is Zapier secure? How does it handle my data?
Zapier takes security seriously. It connects to your apps using encrypted connections and standard OAuth protocols where available, meaning it doesn’t store your direct login credentials for third-party apps. It only has the permissions you grant it for each app. Zapier is GDPR compliant and often undergoes security audits. For specific details, refer to Zapier’s privacy and security documentation. - What happens if a Zap fails?
If a Zap fails to run an action, Zapier will typically notify you via email, explaining the reason for the failure (e.g., authentication issue, invalid data). Failed tasks do not usually count against your monthly task limit. You can then go to your Zapier Task History, review the error, fix the underlying issue, and replay the failed task. - Can I use conditional logic in my Zaps?
Yes, absolutely! Zapier offers powerful conditional logic. You can use ‘Filters’ to ensure a Zap only continues if certain conditions are met. For more complex branching workflows, ‘Paths’ allow your Zap to take different actions based on different criteria, creating sophisticated, dynamic automations.
Final Verdict: Embrace Automation for a Smarter Business
In a world where efficiency and productivity dictate success, Zapier workflow automation stands out as an indispensable tool for freelancers, marketers, founders, and small businesses alike. It transforms tedious, time-consuming manual tasks into seamless, automated workflows, allowing you to reclaim valuable hours and dedicate them to strategic growth and creative endeavors.
By understanding its core features, carefully planning your Zaps, and learning from common mistakes, you can unlock a new level of operational excellence. Whether you’re automating lead capture, streamlining client onboarding, or simply managing notifications, Zapier provides the bridge your apps need to work together harmoniously.
Don’t let manual overload hinder your progress. Take the practical next step: head over to Zapier.com, sign up for a free account, and start experimenting with your first Zap today. The power of automation is within your reach, ready to make your business smarter, faster, and more scalable.