
n8n Webhook Tutorial: Build Your First Webhook Workflow
A webhook lets another app send data into an n8n workflow at the moment something happens. Instead of checking a service every few minutes, your workflow can wait for an incoming request and start when it receives one.
This tutorial explains the practical setup: create a Webhook node, test it safely, inspect the data, choose the response, and activate the workflow. Exact labels can vary by n8n version, so confirm them in your own editor.
This n8n webhook tutorial follows a practical five-step process so you can build, test, and maintain the workflow with confidence.
What a webhook workflow does
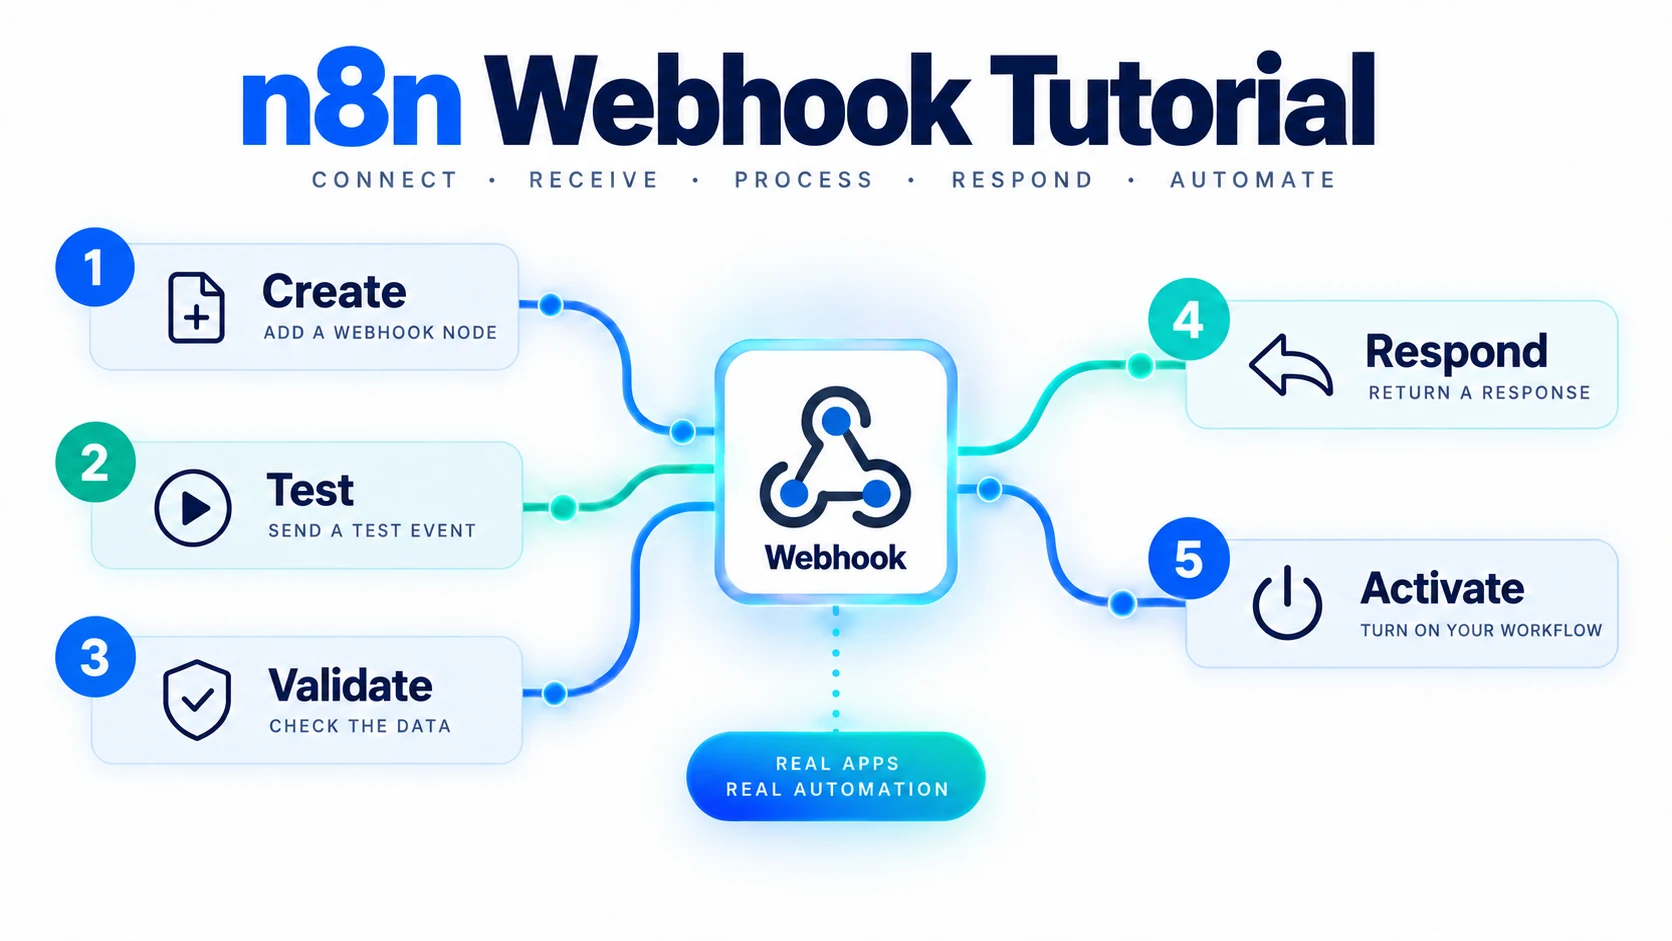
A webhook workflow has an incoming URL. An external app sends an HTTP request to that URL, n8n receives the request data, and your workflow uses that data in later nodes. Common examples include receiving a form submission, a new lead, a payment event, or a support-ticket update.
Step 1: Add the Webhook node
Start this n8n webhook tutorial with one clear trigger and a path that identifies its purpose.
Create a new workflow and add the Webhook node as the first node. Choose the HTTP method that matches the system sending data. Give the path a simple, specific name such as new-lead rather than a vague shared endpoint.
Use the test URL while building. Send a controlled sample request from the source app or a test client, then review the incoming values in the execution data before connecting a real system.
Step 2: Inspect and validate incoming data
A reliable n8n webhook tutorial must cover validation before an automated action is allowed.
Do not trust that every request has the fields you expect. Before creating a CRM record, sending an email, or starting another workflow, validate the fields that matter. For a lead form, that may include name, email, source, consent, and a stable external ID.
Route invalid data to a review path. This prevents a bad request from creating incomplete records or triggering customer messages.
Step 3: Build the action after the webhook
In this n8n webhook tutorial, keep the first workflow focused on one useful business result.
Once the input passes validation, add the next action: create a lead, post to a team channel, write to a database, or call another API. Keep one clear purpose for each workflow. If the workflow becomes complex, split reusable work into a sub-workflow instead of hiding many unrelated actions in one long flow.
Step 4: Return the right response
This n8n webhook tutorial uses a controlled response so the sending service receives only what it needs.
Some services only need a quick success response. Others require a particular response body, status code, or timing. n8n documents the Respond to Webhook node for controlling a webhook response. Decide whether the sender should receive an immediate acknowledgement or a result that is prepared later in the workflow.
Keep the response small and avoid exposing internal errors or sensitive data. A safe response can confirm receipt and include a non-sensitive reference value.
Step 5: Test before activation
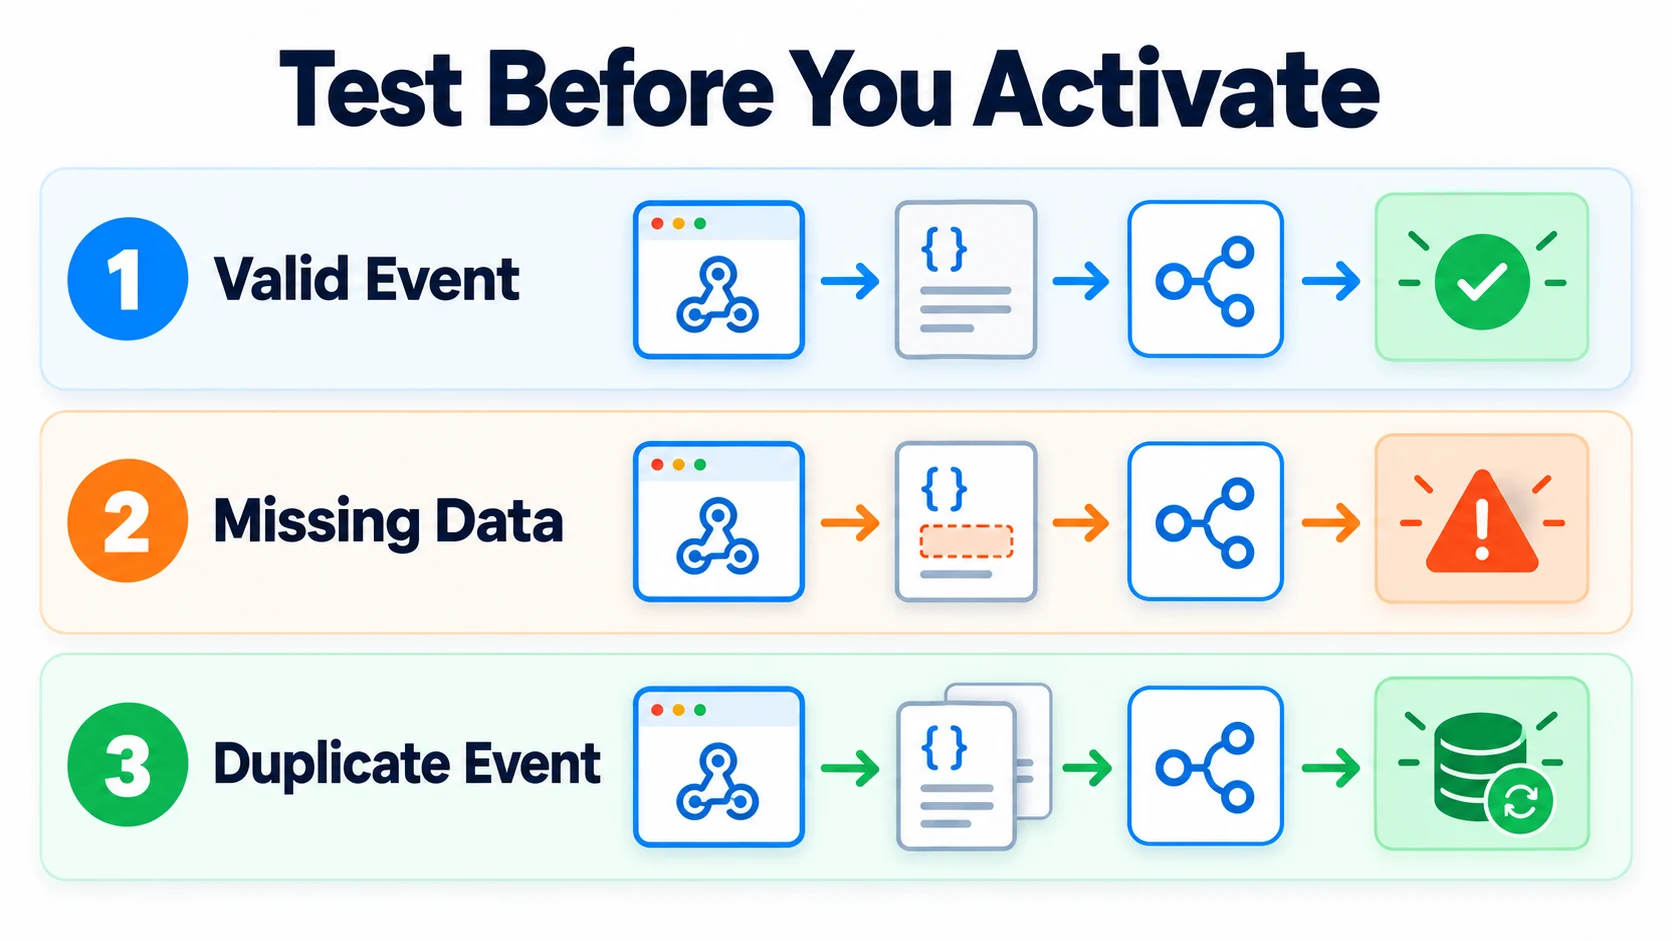
Use this n8n webhook tutorial as a test checklist before you activate a production endpoint.
Test at least three cases: a valid request, a request missing a required field, and a duplicate or repeated request. Confirm that valid data reaches the intended action, invalid data goes to review, and a repeat request does not create a duplicate outcome where that would be harmful.
When the workflow behaves as intended, activate it and copy the production URL only into the authorized source system. Treat the production URL like an integration endpoint: do not publish it publicly or place it in screenshots.
Webhook security basics
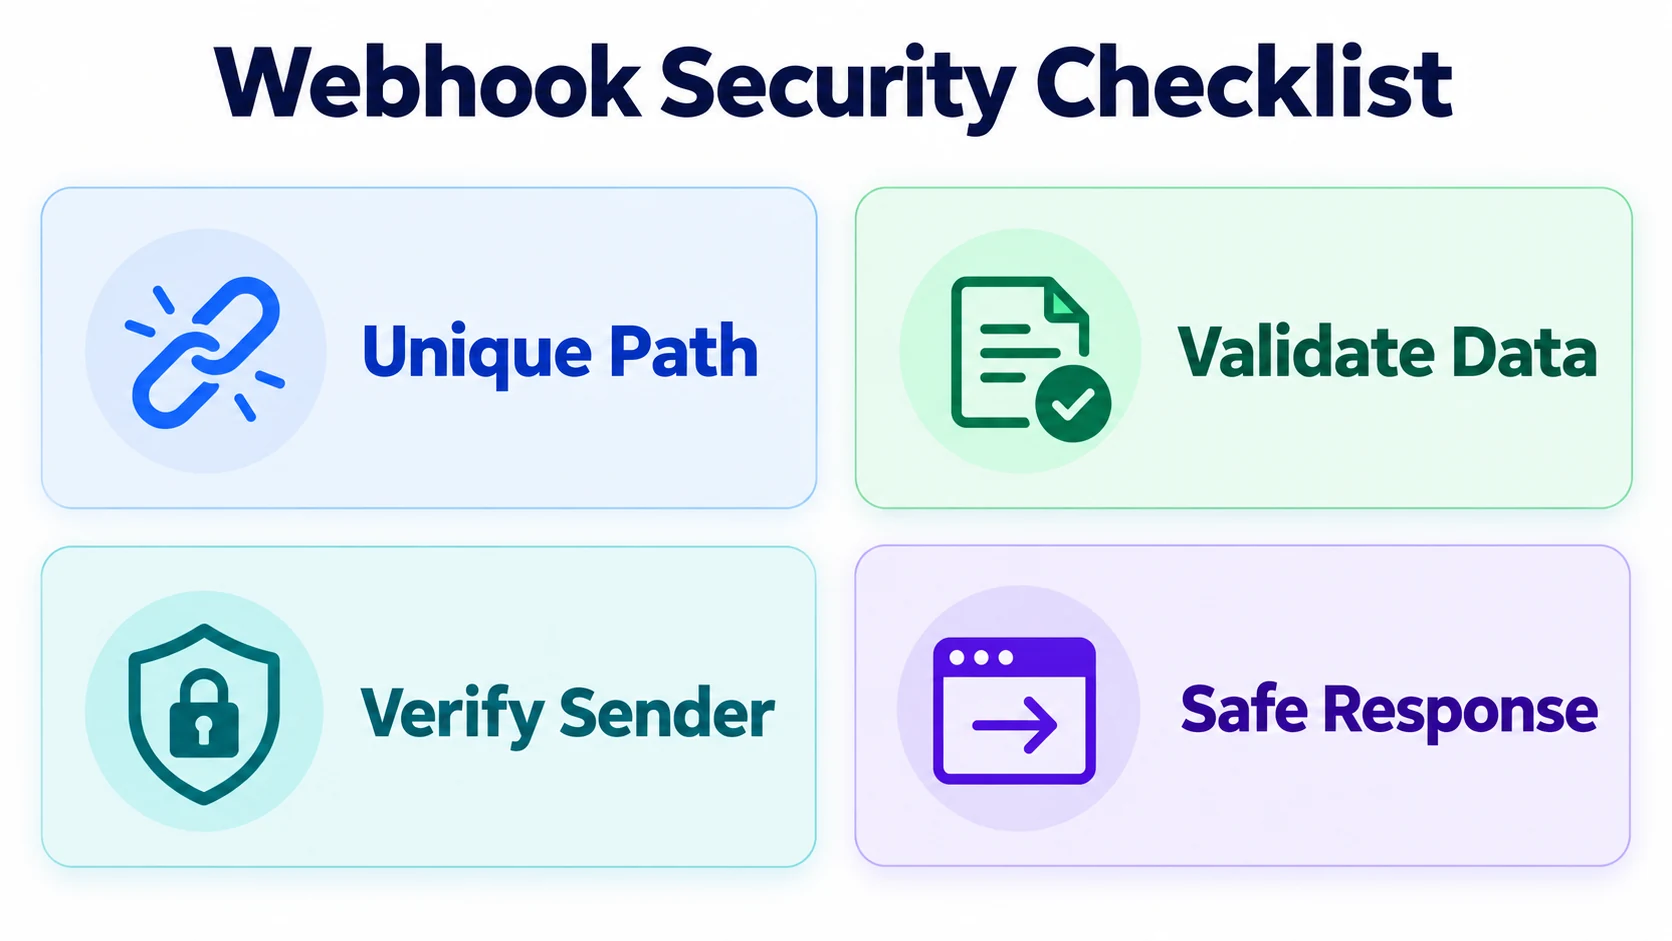
A secure n8n webhook tutorial should always include careful URL handling, validation, and safe responses.
- Use a hard-to-guess path and share it only with the intended sender.
- Validate the request data before a critical action.
- Use source authentication or signatures when the sending service supports them.
- Do not return secrets, stack traces, or customer data in the response.
- Log safe reference values so failed requests can be investigated.
Common mistakes
A common mistake is using the test URL in a live integration. Another is responding too late when the sender expects a quick acknowledgement. Finally, avoid assuming webhook deliveries occur only once. Design critical actions to handle retries or duplicate events safely.
A practical example: lead form to CRM
This n8n webhook tutorial example shows how a simple lead form can become a dependable workflow.
A simple lead workflow can follow this pattern: receive the form submission, validate email and consent, check whether the external form ID already exists, create or update the CRM record, notify the sales team, then return a safe confirmation response. If validation fails, route the item to a review list instead of pretending that the lead was processed.
FAQ
What is an n8n webhook?
An n8n webhook is an incoming URL that starts a workflow when another application sends an HTTP request with data.
Should I use the n8n test URL in production?
No. Use the test URL while building and testing. After activation, configure the authorized source system with the production URL for the live workflow.
How should an n8n webhook respond?
An n8n webhook should return only the response the sending service needs, such as a quick acknowledgement or a controlled response body, without exposing internal errors or sensitive information.
How do I prevent duplicate webhook actions?
Use a stable external event or record ID to check for an existing result before creating a new critical record, order, or customer message.
For more workflow guides, browse our n8n tutorials and automation resources.
Plan the request before you build
Before you configure an endpoint, write down what the sender will send, who owns that sender, and what a successful result looks like. Include the HTTP method, the fields you require, the authentication method, and the response the sender expects. This small planning step helps you avoid changing a live workflow just because a source system uses a different field name or format.
If you are new to the platform, start with our beginners guide to what n8n is. It explains the basic workflow concepts that make webhook troubleshooting much easier. When you run n8n yourself, our n8n Docker setup guide can help you understand the hosting side before you expose a production webhook.
Use an event ID to make actions safe
Many webhook senders retry after a timeout or network failure. That does not always mean the earlier request failed; it may mean the sender did not receive the response in time. Store a stable event ID, order ID, or form submission ID before a critical write. When the same ID arrives again, check for the existing outcome and decide whether to stop, update, or log it for review. This is especially important for payments, bookings, lead notifications, and customer messages.
Keep the duplicate check close to the beginning of the workflow. A simple early check prevents unnecessary downstream actions and makes the execution history easier to understand. If your source has no stable identifier, build one from the smallest reliable group of fields, but document that decision so a future workflow owner can review it.
Monitor the workflow after it goes live
Activation is the start of operations, not the end of testing. Check the first real executions after a new connection is enabled. Confirm that the sender received the expected response, the workflow processed the intended data, and no sensitive values appear in a notification or log. Set a clear owner for failures, because webhook problems often start in the sending application rather than in the workflow itself.
When you change a field, response format, or authentication method, repeat the valid, invalid, and duplicate tests. Keep a small sample payload that contains non-sensitive dummy values. This gives your team a reliable regression test whenever the source system, workflow, or connected app changes.
Sources
- n8n Webhook documentation
- n8n Respond to Webhook documentation
- n8n webhook workflow development documentation
Troubleshooting a webhook that does not fire
First confirm which URL the sending service is using. During development, it must use the test URL while you are listening for a test execution. A live source must use the production URL only after the workflow is active. Also check the HTTP method: a sender using POST will not match an endpoint configured only for GET.
Next, inspect the execution data rather than guessing. Check whether the request reached n8n, whether the expected fields arrived in the body, headers, or query string, and whether validation stopped the item deliberately. If no request arrives, review the source system’s delivery history and the endpoint path. If the request arrives but the workflow fails later, use the failed node and safe execution reference to identify the next action.
Choose a response timing deliberately
For a quick lead capture, responding as soon as the request is accepted may be appropriate. For an integration that needs a calculated result, return the response only after the required work is complete. Do not keep a sender waiting for a long chain of slow or unreliable actions if an acknowledgement is sufficient. Acknowledge first, then complete non-critical work asynchronously where your design allows it.
Keep webhook workflows maintainable
Name the webhook, validation, and response steps clearly. Add notes explaining the expected request shape and the owner of the connected source system. When a source changes its payload, update your validation test before changing the live workflow. This makes a webhook easier to hand over, troubleshoot, and audit later.
